Our innovations center group continues to grow. We have several student teachers who are members – some of them will be in our schools next week and we hope they will be able to help us make progress on the development of our makerspaces. One of our members, Alison Evans Adnani of Maker Junior just put out this post – the things you need when you are starting a makerspace. It is such a great list I had to include all of it here.

One of the questions I often get asked is what would I put in a makerspace? Most of the making I do is with kids, and the age I most often work with is middle school, grades 5-8. So if I was building a middle school makerspace, this is how I would get started:
* Planning. Pencils, erases, paper – often this is overlooked and I’m usually looking for these materials when I’m helping to sketch out ideas. A whiteboard is useful. A whiteboard wall is even better!
* Art supplies. Paint, paintbrushes, paint pots or a palette. Markers. Glitter, sure, why not? Decoration is a valid step in making a project.
* Basic sticky stuff. Masking tape, glue sticks, duct tape, and a hot glue gun.
* Basic Circuits. Conductive paint, conductive thread, batteries (3V and double A), battery holders, wire, LEDs (flashing LEDs are always excellent), and wire strippers. Oh, and don’t forget a roll of aluminum foil. Always handy!
* Building materials. Cardboard – boxes, tubes, lots of cardboard. Foam core is very handy. Bristol board is fun. Felt, fabric, and clay can also be used for construction.
* Basic Tools. Sewing needles, hair dryers, screwdrivers, precision screwdrivers, and if there isn’t a hand held drill, maybe an awl or hole punch. Rulers and measuring tapes.
* Cutting tools. Scissors, wire cutters.
* Safety. A full set of safety glasses and a first aid kit.
* Housekeeping. A sink or access to water, paper towels, hand soap and a garbage can. A broom and dustpan are also useful for picking up the pieces.
And more advanced tools:
* Computers are important. As is an internet connection. It’s important to be able to look for inspiration. Chrome books are a good start, but eventually you’re going to want to set up IDEs and drivers for different microcontrollers.
* MaKey MaKey’s are my favorite way to introduce the idea of integrating the physical and virtual.
* Digital camera or web cam. Stop motion films are a great way to start creating.
* Some sort of computer controlled cutting machine – I’ve heard great things about vinyl cutters, but I don’t have one myself.
* 3D printers are instantly engaging. Be prepared for the upkeep. But what a great way to inspire learning!
* Sewing machines are always fun.
* Raspberry Pi – always fun to set up one as a computer. And have one available as a controller.
* Arduinos. You don’t need lots – but having a couple on hand is a good idea.
Have I forgotten anything? What would you put in a makerspace?
I think this is a pretty good list. The important thing here is that your makerspace does not all have to be full of arduinos and littleBits, there are all sorts of other things you need to have to really make it a creative space for kids. We are finding now that once we explain to the teachers that a makerspace means making anything we had people volunteering to teach knitting or calligraphy. We also now have a supply of Connects and have just put in an order for some lego.
Last week I watched a wonderful Google Hangout on makerspaces from the ISTE Librarian Network. The hangout featured the work of Diana Rendina. I have included the entire segment here because it really shows how a makerspace can develop and flourish over time.
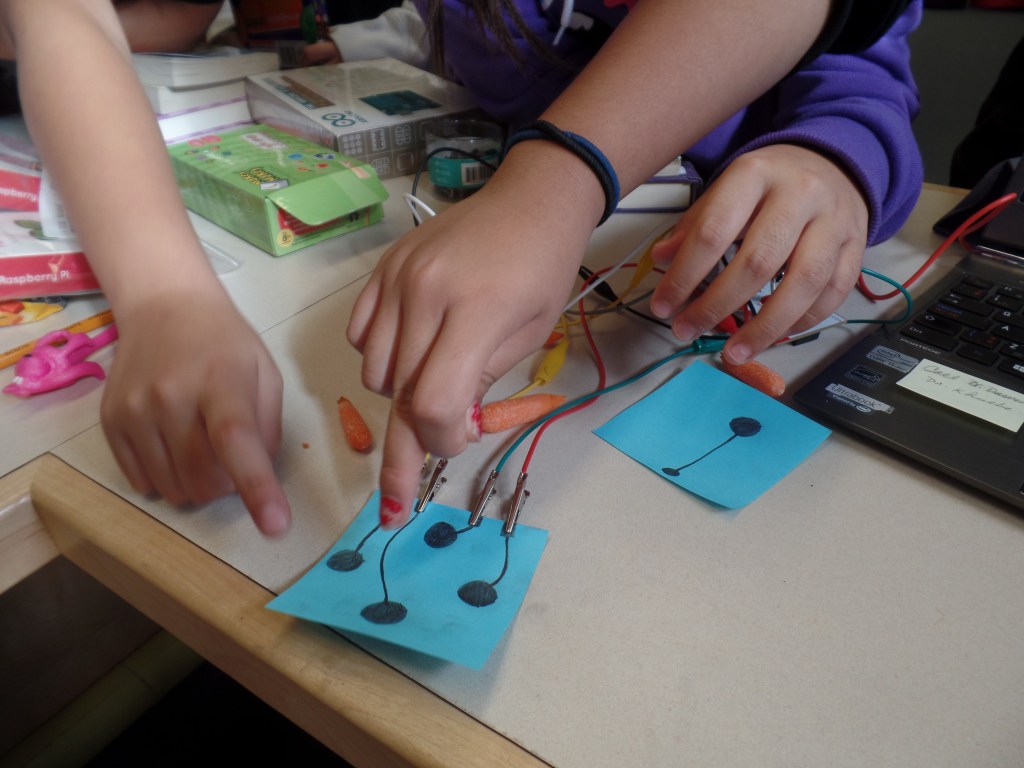
So this week we started our first makerspace with the grade 5 and six students. What I saw is what I always see. Students immediately engaged figuring out how to use the new tools and gadgets that have been put in front of them. They quickly figured out the Makey Makey kits and were soon figuring out what conducted a current and what didn’t.

The students were into the Makey Makey kits within minutes
They loved the littleBits kits and were able to come up with new interesting inventions very quickly.
we quickly realized that we needed more stations to keep everyone engaged. But as you can see from the video above, the students were soon experimenting with new ways to make currents to keep the Makey Makey keyboard running!
We has less success with the arduino and Raspberry pi kits, but to be fair, this was the students’ first exposure to any of this material. With time they will begin to learn how to use these kits as well.
So, we have a start. Where do we go from here?


Leave a comment